
Example roofing plan, start to finish
Shingle or metal re-roof with tear-off, dry-in and disposal. This is a real output from the roofing calculator — nothing blurred, nothing withheld. Change any dimension and yours regenerates instantly. Estimates only, never a quote.
- Footprint
- 40×28 ft
- Pitch
- 6/12
- Shape
- gable
- Covering
- architectural
- Squares
- 14.02
- Tear-off
- 1 layer
Scaled diagram
How to read this: the drawing is to scale but not to the inch. Always measure your real site before cutting — these are estimates only, not a construction document.
Full shopping list
Architectural shingles 43 bundle × $41 | $1,763 |
Starter strip 1 bundle × $48 | $48 |
Hip & ridge cap 2 bundle × $62 | $124 |
Synthetic underlayment (10 sq roll) 2 roll × $92 | $184 |
Drip edge (10' stick) 17 ea × $13 | $221 |
Ridge vent (4' section) 10 ea × $26 | $260 |
Roofing nails (coil) 2 box × $34 | $68 |
Pipe boots / flashing 3 ea × $14 | $42 |
Ice & water shield (2 sq roll) 2 roll × $118 | $236 |
Tear-off disposal (1 layer) 12.52 sq × $11 | $138 |
| Incl. 12% waste ($231) | $3,084 |
Cut list
- Starter course ×180 lf along eaves
- Field courses ×345-5/8" exposure
- Ridge / hip cap ×4040 lf
Before you start — do these four things
Measure twice, on site
Re-measure every dimension at the actual location and compare it to the numbers in this guide before you buy or cut anything.
Call 811 before you dig
Free, and required in most areas. Wait for the utility locates before any post hole, footing, or excavation.
Confirm permits and codes locally
Spans, footing depth, setbacks, and heights are set by your local building department — their answer overrides this guide.
Safety gear on, every step
Eye and ear protection, gloves, dust mask when cutting, and a helper for anything you can't lift alone.
Estimates only — verify measurements, prices, and codes locally. This guide is not a substitute for an engineer or your building official.
How the pros build this roofing
Tear off to the deck, repair sheathing, install drip edge, ice barrier and underlayment, then shingles from the eave up with correct offsets.
Professional crew: 1–2 days on a typical house. This is a fall-risk trade — hire out steep or high roofs.
Tools a pro shows up with
- Safety glasses
- Work gloves
- Hearing protection
- Fall-arrest harness and anchor
- Roofing nailer or hammer
- Shingle shovel
- Utility knife with hook blades
- Chalk line
- Ladder with stabilizer
The numbers pros work to
- Deck conditionReplace any spongy or delaminated sheathing before covering
Nails don't hold in bad decking and the failure is invisible from outside.
- UnderlaymentFull coverage; ice barrier at eaves in cold climates
Ice damming pushes water back up under shingles.
- NailingManufacturer's pattern in the nail zone, driven flush, not overdriven
The single most common cause of warranty denial and blow-off.
- OffsetFollow the shingle maker's stagger pattern
Aligned joints create a channel straight to the deck.
General guidance based on common residential practice. Your local building department has the final say — estimates only, never a quote or an engineered design.
Step 1: Safety and tear-off
Falls are the leading cause of serious injury in this trade.
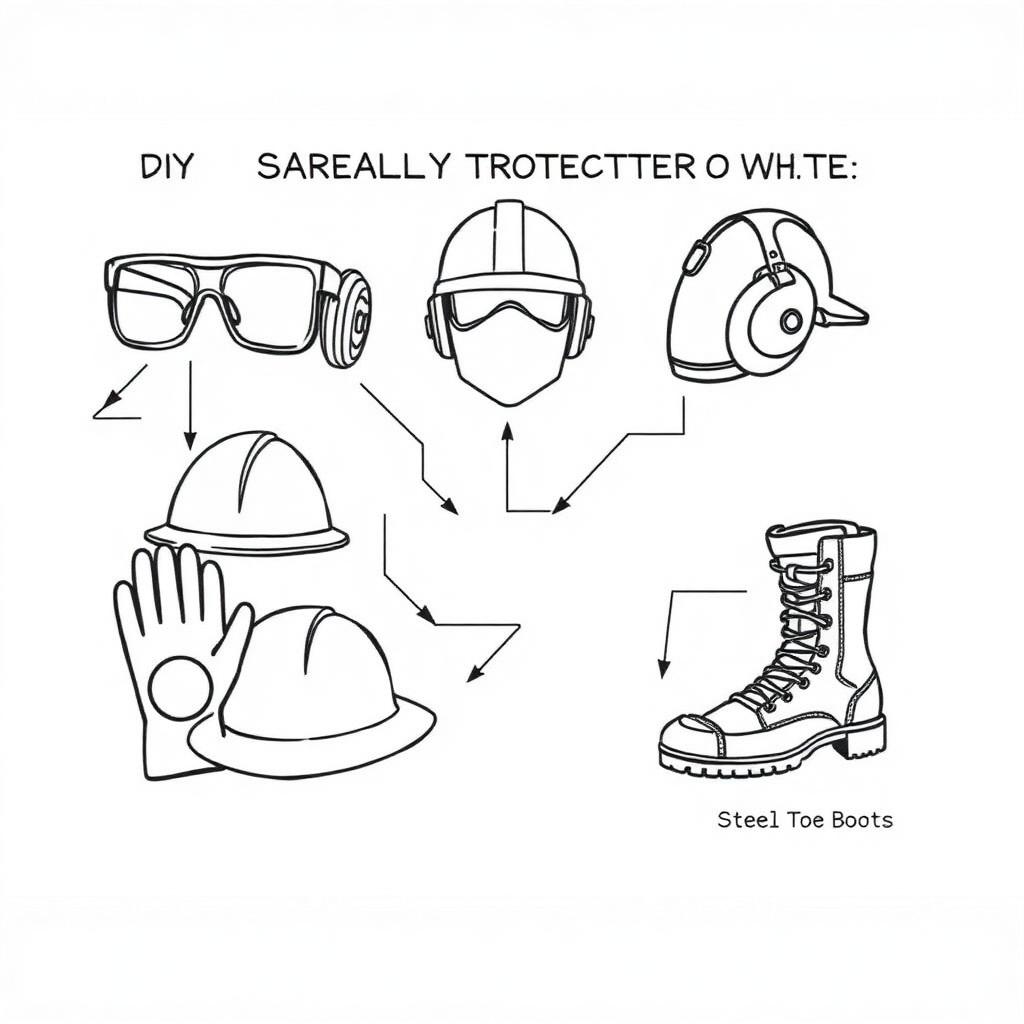
1.1 Set anchors and wear a harness; keep ladders tied off and stabilized.
Pro standard
Fall protection is required over prescribed heights on job sites.
In plain English
Tie yourself off. This is the step people skip and it's the one that hurts them.
1.2 Strip to the deck and inspect every sheet.
Pro standard
Look for delamination, rot at eaves and valleys, and missing fasteners.
In plain English
Take the old roof off completely so you can see and fix the wood underneath.
Before you move on: Deck sound and re-nailed, no protruding fasteners, debris cleared and magnet-swept.
Step 2: Water management layers
Shingles shed water; these layers are what actually keep it out.
2.1 Install drip edge, ice barrier at the eaves, then underlayment lapped up-slope.
Pro standard
Drip edge under underlayment at eaves, over it at rakes.
In plain English
Metal edging and the peel-and-stick strip along the bottom edge do the heavy lifting against ice.
2.2 Flash valleys, walls, chimneys and every penetration.
Pro standard
Step flashing at walls, counterflashing at masonry — sealant alone is not flashing.
In plain English
Anywhere the roof meets something else needs metal, not just caulk. Caulk fails; metal doesn't.
Before you move on: Every penetration flashed, laps run up-slope, no reverse laps anywhere.
Step 3: Shingles and ventilation
Attic ventilation is what makes a roof last its rated life.
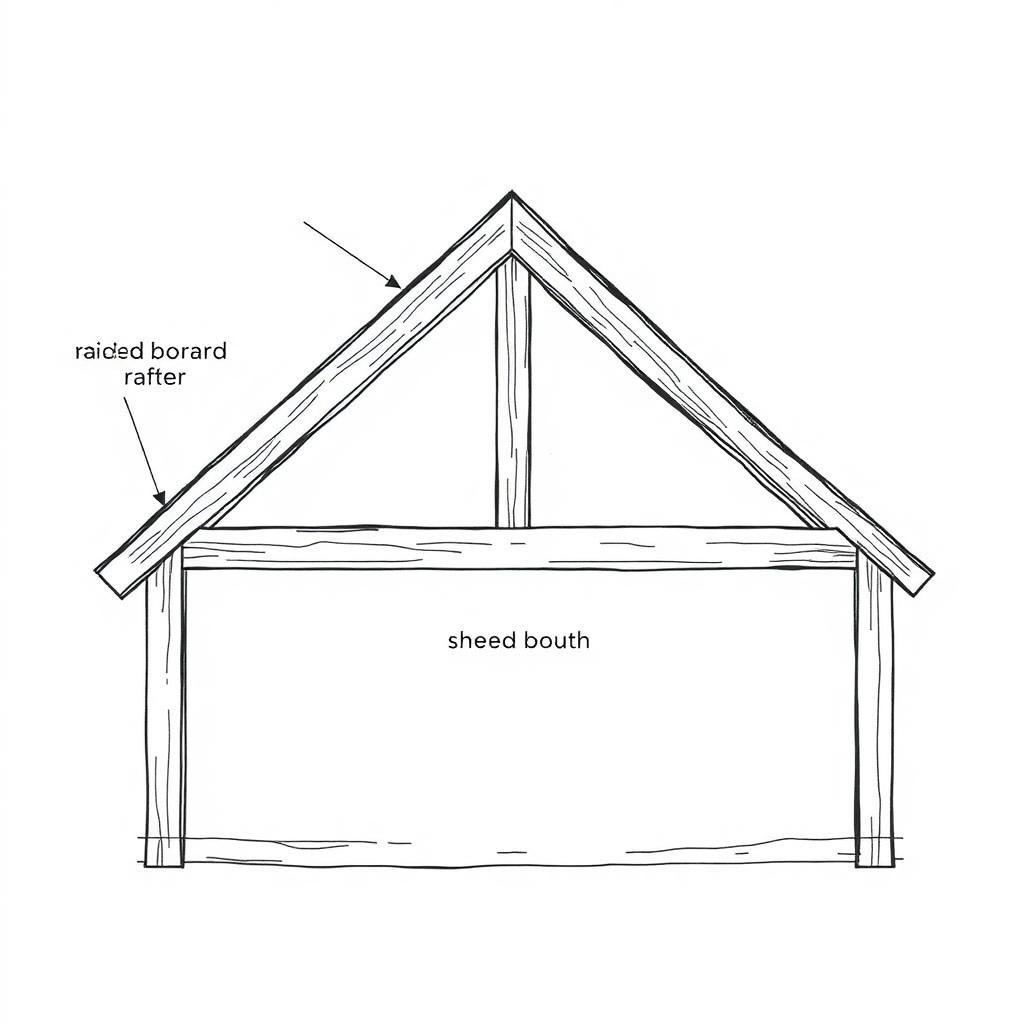
3.1 Snap control lines and run courses from the eave with the specified offset.
Pro standard
Chalk lines every few courses keep courses straight over long runs.
In plain English
Snap lines so the rows stay straight and the roof looks professional from the street.
3.2 Balance intake at the soffit with exhaust at the ridge.
Pro standard
Roughly balanced intake and exhaust; ridge vent needs an open slot cut.
In plain English
Air must get in at the eaves and out at the peak, or the attic cooks the shingles from below.
Before you move on: Courses straight, nails in the nail zone and flush, ridge vent slot cut and capped.
What goes wrong most often
- Overdriving nails so heads cut through the shingle mat.
- Relying on sealant instead of proper step flashing at walls.
- Adding exhaust vents with no intake — the roof pulls conditioned air out of the house.
Permit checkpoints
- Re-roof permit is required almost everywhere
Nearly every jurisdiction requires a permit for a re-roof, even a like-for-like tear-off. It is usually a same-day over-the-counter permit with a flat fee, and it is what triggers the sheathing inspection after tear-off.
- Two-layer maximum
Codes generally cap asphalt at two layers. If an inspector finds a third, the whole roof comes off regardless of what was planned.
- Fall protection above 6ft
At 6/12 pitch, use roof brackets on anything over one story and never work a wet roof. OSHA requires fall protection for work over 6ft; homeowners are not exempt from gravity.
- Ice barrier and underlayment spec
Cold-climate codes require an ice barrier from the eave edge to at least 24" inside the interior wall line. Valleys get it regardless of climate. Synthetic underlayment over the remaining field is now the normal spec.
- Net free ventilation area
Most codes require 1 sq ft of net free vent area per 150 sq ft of attic floor, split roughly evenly between intake (soffit) and exhaust (ridge). Adding ridge vent without opening the soffits does nothing.
- Notify your insurer, and document the deck
Photograph the bare sheathing before you dry it in. It is the only proof of what was underneath, and it matters for both the inspection and any future claim.
Rules vary by city and county — always confirm with your local building department. Estimates only, not a permit determination.
Plan it. Price it. Build it.
Enter your own dimensions and get this same plan for your yard — plus the build guide, permit packet and printable PDFs.
Start my roofing