
Example gate plan, start to finish
Single or double swing gate with anti-sag hardware. This is a real output from the gate calculator — nothing blurred, nothing withheld. Change any dimension and yours regenerates instantly. Estimates only, never a quote.
- Style
- single
- Opening
- 4 ft
- Height
- 6 ft
- Material
- pressure-treated
- Leaves
- 1
- Anti-sag
- yes
Scaled diagram
How to read this: the drawing is to scale but not to the inch. Always measure your real site before cutting — these are estimates only, not a construction document.
Full shopping list
Gate posts (6×6 × 9ft) 2 ea × $42 | $84 |
Frame boards (2×4×8) 5 ea × $9 | $45 |
Pickets 10 ea × $5 | $45 |
Hinge pairs (heavy-duty) 1 pair × $28 | $28 |
Gate latch 1 ea × $22 | $22 |
Concrete mix (50lb bags) 10 bag × $7 | $65 |
Exterior fasteners 4 lb × $8 | $32 |
Anti-sag kit (turnbuckle + cable) 1 kit × $32 | $32 |
| Incl. 10% waste ($22) | $353 |
Cut list
- Gate posts ×26×6 × 9'
- Frame top/bottom rails ×22×4 × 3.88'
- Frame vertical stiles ×22×4 × 6'
- Diagonal brace ×12×4 corner-to-corner
- Pickets ×105.5" × 6'
Before you start — do these four things
Measure twice, on site
Re-measure every dimension at the actual location and compare it to the numbers in this guide before you buy or cut anything.
Call 811 before you dig
Free, and required in most areas. Wait for the utility locates before any post hole, footing, or excavation.
Confirm permits and codes locally
Spans, footing depth, setbacks, and heights are set by your local building department — their answer overrides this guide.
Safety gear on, every step
Eye and ear protection, gloves, dust mask when cutting, and a helper for anything you can't lift alone.
Estimates only — verify measurements, prices, and codes locally. This guide is not a substitute for an engineer or your building official.
How the pros build this gate
Oversized hinge post set deep, frame built square with a compression diagonal, hardware sized to leaf weight, gap set for swing.
1–2 people, half a day plus concrete cure
Tools a pro shows up with
- Safety glasses
- Work gloves
- Hearing protection
- Level
- Framing square
- Clamps
- Impact driver
- Circular saw
- Socket set
The numbers pros work to
- Hinge post6×6 minimum, embedded deeper than line posts
The leaf hangs as a cantilever on this one post.
- Frame gapAbout 3/8–3/4 in at the latch side, 1/2 in at hinges
Wood moves seasonally; too tight and it binds every wet week.
- Anti-sagWood diagonal in compression from bottom hinge to top latch, or steel cable turnbuckle top hinge to bottom latch
Wood braces push, cables pull — direction matters and reversing them does nothing.
- HardwareHinges rated above the leaf weight, three hinges over 4 ft tall
Hinge failure, not frame failure, is the usual cause of a dragging gate.
General guidance based on common residential practice. Your local building department has the final say — estimates only, never a quote or an engineered design.
Step 1: Posts
A perfect gate on a weak post still sags.
1.1 Set the hinge post deeper and larger, plumb, in concrete, and let it cure fully.
Pro standard
Cure before hanging any load; consider a batter (lean) of a degree away from the swing.
In plain English
The hinge side takes all the weight. Bigger post, deeper hole, and wait for the concrete.
Before you move on: Hinge post plumb, concrete fully cured, opening width measured top and bottom (they should match).
Step 2: Frame
Square now or fight it forever.
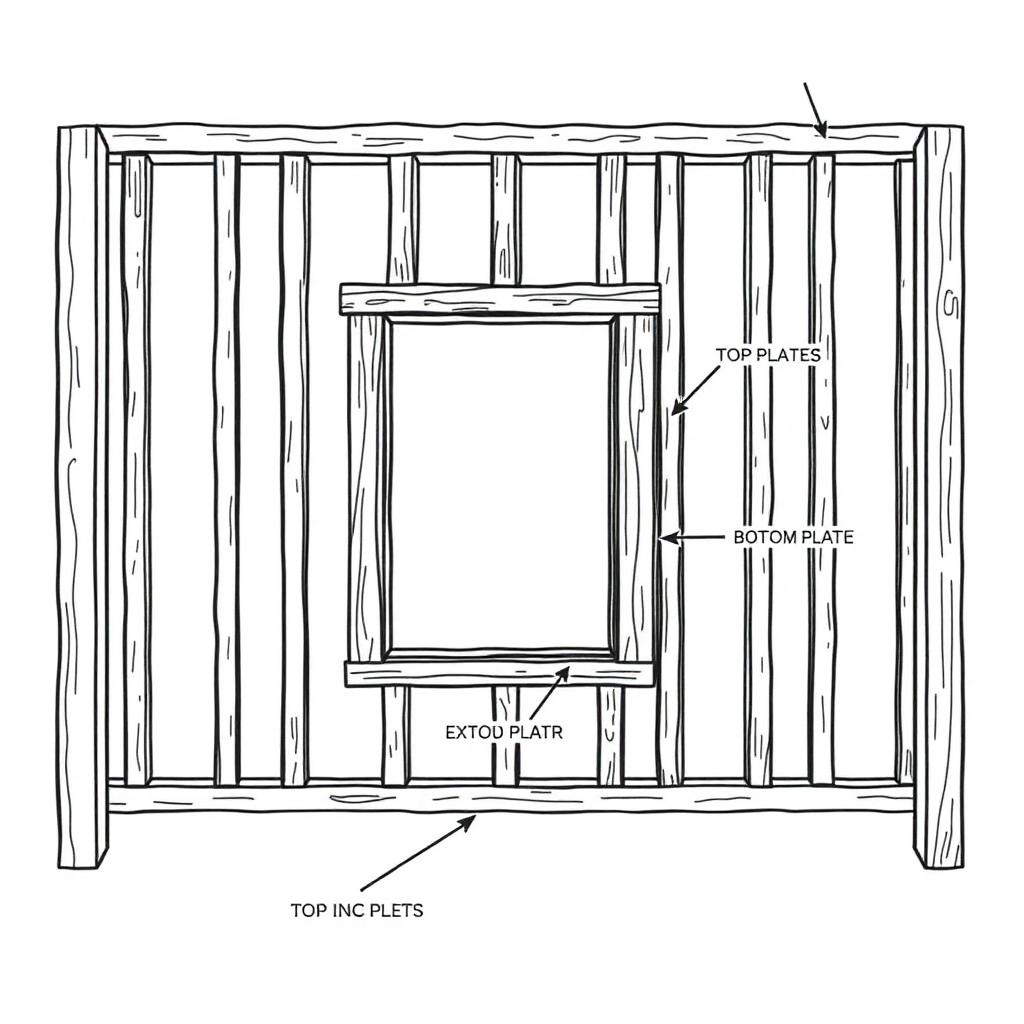
2.1 Build the frame on a flat surface, clamp, check diagonals, then fasten.
Pro standard
Diagonals equal within 1/8 in before final fastening.
In plain English
Assemble it flat on the ground and check corner-to-corner before locking it together.
2.2 Install the brace in the correct direction for its type.
Pro standard
Wood brace bottom-hinge to top-latch (compression); cable top-hinge to bottom-latch (tension).
In plain English
A wood diagonal must push up from the hinge bottom. A steel cable must pull down from the hinge top. Backwards does nothing.
Before you move on: Frame square and flat with no twist when laid on a level surface.
Step 3: Hang and adjust
Small adjustments here decide daily usability.
3.1 Shim the leaf into the opening on blocks, mark hinge positions, then fasten.
Pro standard
Hang with the intended gap already blocked in place.
In plain English
Prop the gate at the right height with scrap wood before screwing on the hinges.
3.2 Test full swing, then set the latch and a gate stop.
Pro standard
A stop prevents over-swing that racks hinges.
In plain English
Add a small block so the gate can't swing too far and bend the hinges.
Before you move on: Swings freely through full arc, latches one-handed, no drag at the far corner.
What goes wrong most often
- Using the same size post for the hinge side as the line posts.
- Installing an anti-sag cable or brace in the wrong direction.
- Zero clearance at the latch — it binds the first humid week.
Permit checkpoints
- Set your state for localized rules
Permit thresholds, frost-line depth, and fence-height caps vary a lot by state. Pick your state above to tailor this checklist.
- Call 811 before you dig
Free U.S. utility locate service. Required by law in most states — schedule at least 3 business days before you start digging post holes.
- Plan gate swing & clearance
Your single gate opens 4 ft. Gates typically must swing inward and cannot swing into a public right-of-way, sidewalk, or driveway.
- Check corner visibility triangle
At driveway/street corners cities require a clear-sight triangle (typically 25–30 ft). A tall gate inside that triangle usually needs a permit or variance.
- Check HOA / neighborhood covenants
HOAs often dictate gate materials, colors, and hardware finish. Get written approval before ordering.
- Driveway gate? Check curb-cut & apron rules
If this gate crosses a driveway apron or sidewalk, a separate right-of-way permit may apply.
Rules vary by city and county — always confirm with your local building department. Estimates only, not a permit determination.
Plan it. Price it. Build it.
Enter your own dimensions and get this same plan for your yard — plus the build guide, permit packet and printable PDFs.
Start my gate