
Example raised garden bed plan, start to finish
Rectangular wood-framed planter with soil calculator. This is a real output from the raised garden bed calculator — nothing blurred, nothing withheld. Change any dimension and yours regenerates instantly. Estimates only, never a quote.
- Size
- 8×4 ft
- Height
- 12"
- Beds
- 1
- Board
- 2x6
- Material
- cedar
- Soil
- 1.19 cu yd
Scaled diagram
How to read this: the drawing is to scale but not to the inch. Always measure your real site before cutting — these are estimates only, not a construction document.
Full shopping list
Sides (cedar 2x6 boards) 14 ea × $19 | $269 |
Corner posts (PT 4×4 × 2') 4 ea × $4 | $18 |
Fill soil / compost mix 1.19 cu yd × $24 | $29 |
Exterior deck screws (3") 3 lb × $14 | $42 |
| Incl. 10% waste ($52) | $357 |
Cut list
- Long sides ×62x6 × 8'
- Short sides ×62x6 × 4'
- Corner posts ×44×4 × 2'
Before you start — do these four things
Measure twice, on site
Re-measure every dimension at the actual location and compare it to the numbers in this guide before you buy or cut anything.
Call 811 before you dig
Free, and required in most areas. Wait for the utility locates before any post hole, footing, or excavation.
Confirm permits and codes locally
Spans, footing depth, setbacks, and heights are set by your local building department — their answer overrides this guide.
Safety gear on, every step
Eye and ear protection, gloves, dust mask when cutting, and a helper for anything you can't lift alone.
Estimates only — verify measurements, prices, and codes locally. This guide is not a substitute for an engineer or your building official.
How the pros build this raised garden bed
Site cleared and leveled, corners squared, walls fastened at the corners, layered fill from coarse to fine.
1–2 people, half a day per bed
Tools a pro shows up with
- Safety glasses
- Work gloves
- Hearing protection
- Tape measure
- Spade
- Level
- Circular saw
- Impact driver
- Wheelbarrow
The numbers pros work to
- Depth10–12 in minimum for most vegetables, 18 in for root crops
Root zone depth drives what you can grow.
- Width4 ft max if reachable from both sides
You should never have to step in the bed and compact the soil.
- MaterialUntreated cedar, naturally rot-resistant species, or modern treated lumber
Avoid legacy CCA-treated or railroad ties near edibles.
- Fill mixRoughly 60% topsoil, 30% compost, 10% aeration material
Common raised-bed mix; drains while holding nutrients.
General guidance based on common residential practice. Your local building department has the final say — estimates only, never a quote or an engineered design.
Step 1: Site and layout
Sun and drainage decide whether the bed produces.
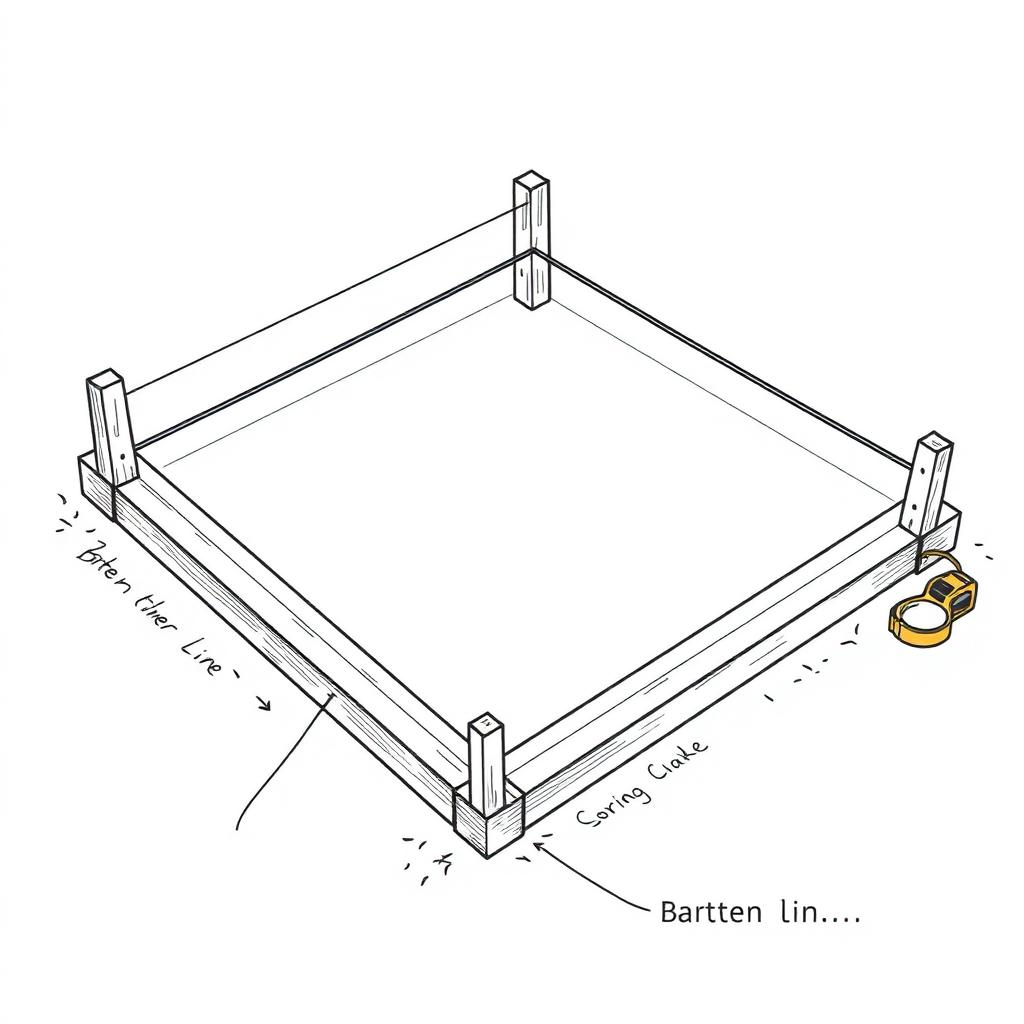
1.1 Pick a spot with 6+ hours of sun, then level the footprint.
Pro standard
Level the ground rather than shimming the frame — the frame will telegraph any twist.
In plain English
Flatten the dirt first. A level base means the box sits flat and the soil stays put.
1.2 Square the corners and check diagonals before fastening.
Pro standard
Equal diagonals within 1/8 in on a small frame.
In plain English
Match corner-to-corner measurements so the box isn't a diamond.
Before you move on: Footprint level side to side, diagonals equal, sun exposure confirmed.
Step 2: Build the frame
Soil pushes outward harder than people expect.
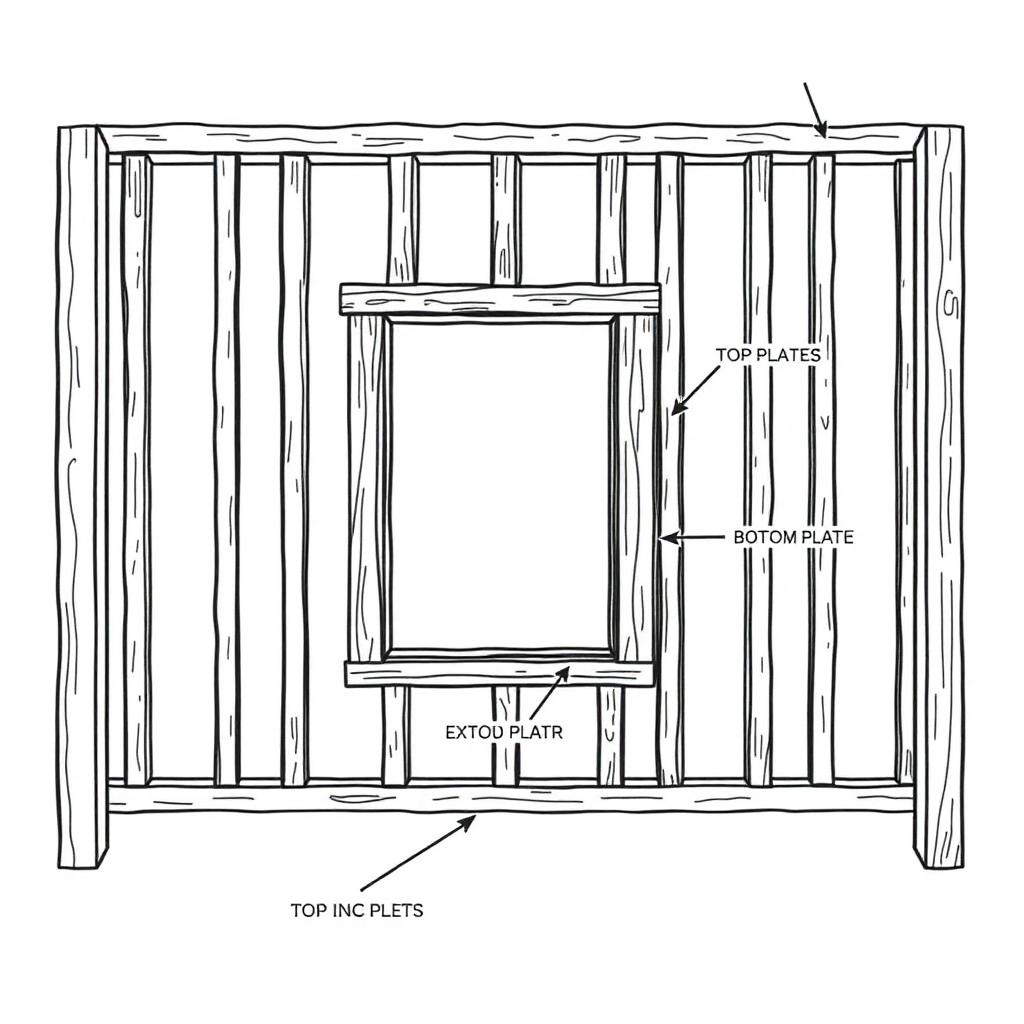
2.1 Fasten corners with exterior screws into a corner post or bracket.
Pro standard
Corner post resists outward soil pressure better than butt-screwed ends.
In plain English
Add a small vertical post inside each corner and screw into it — the walls won't bow out.
2.2 For beds over 6 ft long, add a mid-span cross tie.
Pro standard
Wet soil bows long walls within a season.
In plain English
Long sides bulge. A strap or brace across the middle holds them straight.
Before you move on: Frame square, corners tight, no wall flexes when pushed.
Step 3: Line and fill
Layering keeps drainage right and cuts the soil bill.
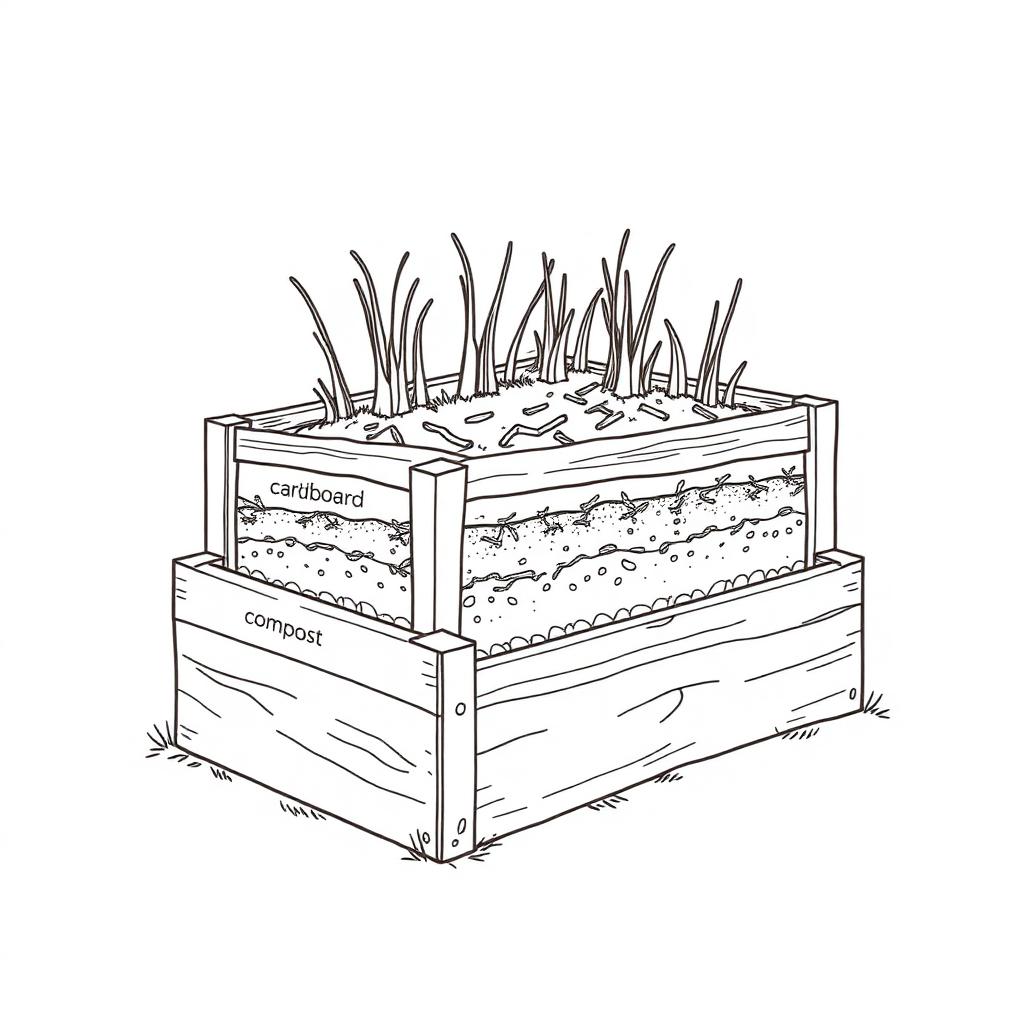
3.1 Lay cardboard over grass, then fill coarse to fine.
Pro standard
Cardboard smothers weeds and breaks down; hardware cloth underneath if voles are a problem.
In plain English
Cardboard kills the grass without chemicals. Add wire mesh underneath if burrowing critters are an issue.
3.2 Fill to about 2 in below the rim and water in to settle.
Pro standard
Settlement is 10–20% — top up after the first watering.
In plain English
Soil sinks after the first soak, so plan on adding more.
Before you move on: Fill level after watering, no soil escaping the corners, drainage confirmed after a soak.
What goes wrong most often
- Making the bed wider than arm's reach from both sides.
- Filling with pure compost — it slumps and burns seedlings.
- Using old railroad ties or unknown treated lumber near food crops.
Permit checkpoints
- Set your state for localized rules
Permit thresholds, frost-line depth, and fence-height caps vary a lot by state. Pick your state above to tailor this checklist.
- No permit needed
Raised beds are not permanent structures — no permit required in any U.S. jurisdiction we know of. Enjoy.
- Check HOA rules on front-yard beds
Some HOAs restrict vegetable gardens in front yards. Backyard beds are essentially never restricted.
- Skip 811 unless you're excavating
Because you're not digging deep post holes, 811 is optional — but if you plan to trench a drip line to the beds, call it in.
- Site for 6+ hours of direct sun
Vegetables need at least 6 hours of full sun. Watch your yard for a day before committing to bed location.
- Level the ground before you build
Skim off sod and rake flat. A bed that's out of level will look crooked and drain unevenly.
Rules vary by city and county — always confirm with your local building department. Estimates only, not a permit determination.
Plan it. Price it. Build it.
Enter your own dimensions and get this same plan for your yard — plus the build guide, permit packet and printable PDFs.
Start my raised garden bed