Example wall framing plan, start to finish
Stud-by-stud wall takeoff with plates, headers and openings. This is a real output from the wall framing calculator — nothing blurred, nothing withheld. Change any dimension and yours regenerates instantly. Estimates only, never a quote.
- Wall run
- 40 lf
- Height
- 8 ft
- Lumber
- 2x4 @ 16" o.c.
- Studs
- 46
- Openings
- 3
- Load-bearing
- no
Scaled diagram
How to read this: the drawing is to scale but not to the inch. Always measure your real site before cutting — these are estimates only, not a construction document.
Full shopping list
2x4 studs (8' walls) 46 ea × $4 | $196 |
2x4 plate stock (12') 14 ea × $10 | $133 |
2×10 header stock (8') 3 ea × $22 | $66 |
Framing nails (coil) 1 box × $32 | $32 |
Anchor bolts / concrete screws 7 ea × $3 | $22 |
R-13 batt insulation 4 bag × $62 | $248 |
| Incl. 10% waste ($40) | $697 |
Cut list
- Field studs ×312x4 × 91"
- Bottom plate ×42x4 × 12'
- Top plates (doubled) ×72x4 × 12'
- King studs ×62x4 × 91"
- Jack studs ×62x4 × cut to header height
- Headers ×32×10 × 3.5' (widest opening + 6" bearing)
- Cripples ×102x4 × short
Before you start — do these four things
Measure twice, on site
Re-measure every dimension at the actual location and compare it to the numbers in this guide before you buy or cut anything.
Call 811 before you dig
Free, and required in most areas. Wait for the utility locates before any post hole, footing, or excavation.
Confirm permits and codes locally
Spans, footing depth, setbacks, and heights are set by your local building department — their answer overrides this guide.
Safety gear on, every step
Eye and ear protection, gloves, dust mask when cutting, and a helper for anything you can't lift alone.
Estimates only — verify measurements, prices, and codes locally. This guide is not a substitute for an engineer or your building official.
How the pros build this wall framing
Plates laid out together, walls built flat and raised square, openings headered, everything braced plumb and tied at the corners.
2 people, 1–2 days per typical interior wall run
Tools a pro shows up with
- Safety glasses
- Work gloves
- Hearing protection
- Framing nailer or hammer
- Circular saw
- Speed square
- Chalk line
- 6 ft level
- Plumb bob or laser
The numbers pros work to
- Stud spacing16 in on center typical; 24 in where permitted
Panel edges land on framing and drywall spans without waves.
- HeadersSized to span and load; jack studs each side
Loads route around the opening down to the plate.
- PlatesDouble top plate lapped at corners and intersections
Laps tie walls together into a diaphragm.
- Plumb and straightWalls plumb and lines straight before sheathing
Everything downstream — drywall, cabinets, trim — inherits this.
General guidance based on common residential practice. Your local building department has the final say — estimates only, never a quote or an engineered design.
Step 1: Layout
Layout errors multiply through the whole build.
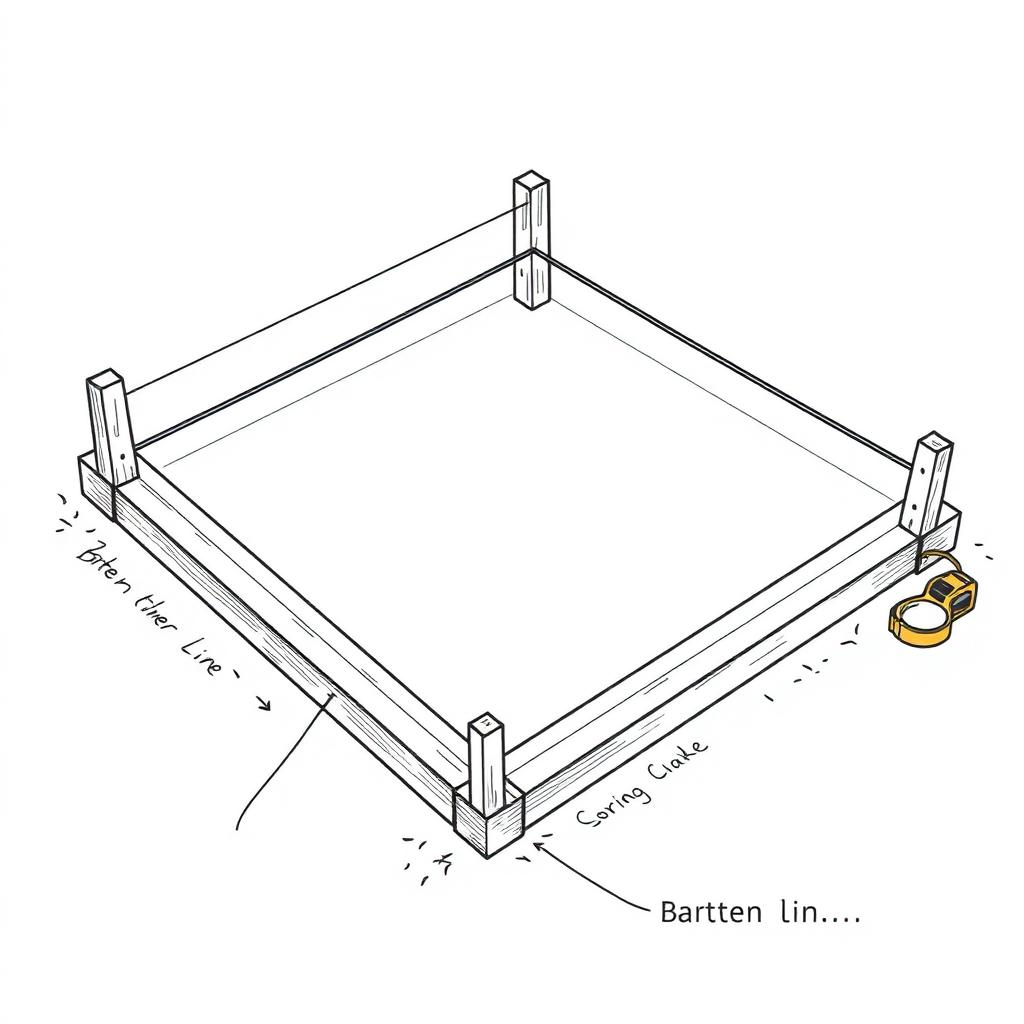
1.1 Snap wall lines on the deck and mark plates in pairs.
Pro standard
Mark the crown side and the X on the stud side of the layout line consistently.
In plain English
Mark both plate boards at the same time so studs line up perfectly top and bottom.
1.2 Lay out openings with king studs, jacks and cripples marked before cutting.
Pro standard
Full layout on the plate before a single stud is cut.
In plain English
Draw the whole wall on the two long boards first — then you just fill in the pieces.
Before you move on: Plates marked identically, opening dimensions verified against the actual door/window unit.
Step 2: Assemble and raise
Flat assembly is what makes a wall square.
2.1 Nail the wall together flat, crowns consistent, then raise and brace.
Pro standard
Crown all studs the same direction; brace before releasing.
In plain English
Build it lying down, then stand it up and hold it with temporary braces before letting go.
2.2 Plumb and line the wall, then nail the plate down.
Pro standard
String the top plate to check for bow before fixing.
In plain English
Run a string along the top to make sure the wall is straight, not just plumb at the ends.
Before you move on: Wall plumb both ends, top plate straight to a string, bottom plate fastened at the spec spacing.
Step 3: Tie in and block
Connections make separate walls into a structure.
3.1 Lap the double top plate at corners and intersections.
Pro standard
Laps transfer load between walls.
In plain English
The second top board should cross over into the next wall — that's what ties them together.
3.2 Add blocking for cabinets, grab bars, TVs and drywall edges now.
Pro standard
Backing is free during framing and expensive after drywall.
In plain English
Put wood in the wall wherever you'll later hang something heavy. You can't add it after the drywall.
Before you move on: Corners tied, backing installed and photographed before cover, nothing racks when pushed.
What goes wrong most often
- Marking plates separately so studs don't line up top to bottom.
- Forgetting blocking for cabinets, railings or a wall-mounted TV.
- Raising walls without checking the deck line first, so the wall is plumb but bowed.
Permit checkpoints
- Building permit required for new walls
Adding, removing or altering walls is permitted work in essentially every jurisdiction, and it carries a framing inspection before insulation and board go on. Unpermitted structural changes surface at resale and can void insurance.
- Fire blocking and draft stopping
Fire blocking is required where a stud cavity runs past 10ft vertically, and at soffits, dropped ceilings and chases.
- Pressure-treated plate on concrete
Any bottom plate in contact with concrete or masonry must be pressure-treated (or separated by an approved barrier), and fastened with anchors rated for concrete.
- Follow the code nailing schedule
Inspectors check fastening before anything else: 2 nails per stud into each plate end-nailed (or 3 toe-nailed), and the published pattern for sheathing edges and field. Print the table and keep it on site.
- Plan the rough-in before you sheath
Electrical, plumbing and HVAC all need to be in the cavity and inspected before insulation. Drill and notch only within code limits — over-notching a stud is a red-tag.
- Set your state for localized rules
Permit thresholds, frost-line depth, and fence-height caps vary a lot by state. Pick your state above to tailor this checklist.
Rules vary by city and county — always confirm with your local building department. Estimates only, not a permit determination.
Plan it. Price it. Build it.
Enter your own dimensions and get this same plan for your yard — plus the build guide, permit packet and printable PDFs.
Start my wall framing