
Example fence plan, start to finish
Wood or vinyl privacy fence with gates. This is a real output from the fence calculator — nothing blurred, nothing withheld. Change any dimension and yours regenerates instantly. Estimates only, never a quote.
- Length
- 120 ft
- Height
- 6 ft
- Material
- pressure-treated
- Sections
- 15
- Posts
- 18
- Gates
- 1
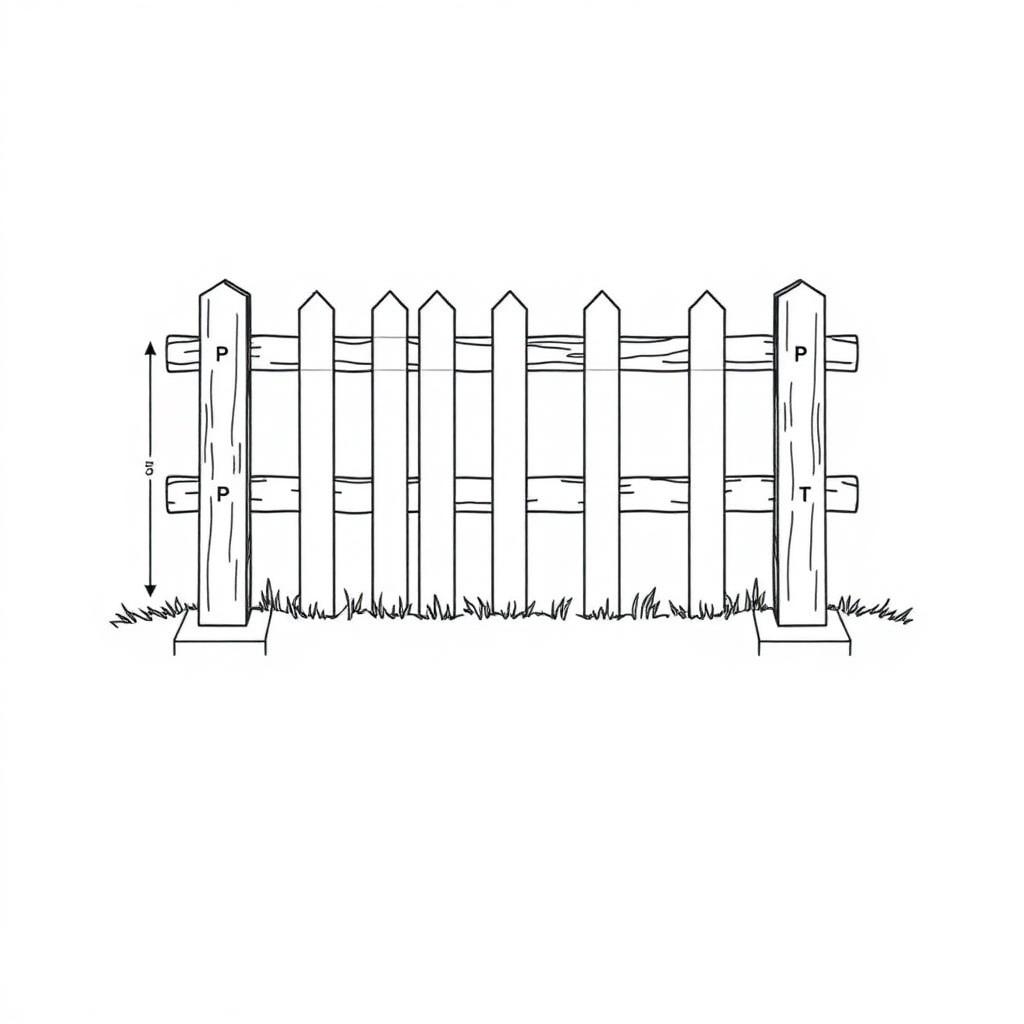
Scaled diagram
How to read this: the drawing is to scale but not to the inch. Always measure your real site before cutting — these are estimates only, not a construction document.
Full shopping list
4×4 Posts (8ft wood) 18 ea × $22 | $396 |
Rails (2×4×8') 50 ea × $9 | $450 |
Pickets (5.5" wide) 268 ea × $5 | $1,206 |
Concrete mix (50lb bags) 72 bag × $7 | $468 |
Exterior fasteners 66 lb × $8 | $528 |
Gate frame lumber (2×4×8') 4 ea × $9 | $36 |
Gate hardware kit (hinges + latch) 1 kit × $45 | $45 |
| Incl. 10% waste ($214) | $3,129 |
Cut list
- Line & gate posts ×184×4 × 8'
- Top & bottom rails ×502×4 cut to 7.73'
- Pickets ×2685.5" × 6'
- Gate frames ×12×4 frame, 4' wide × 6'
Before you start — do these four things
Measure twice, on site
Re-measure every dimension at the actual location and compare it to the numbers in this guide before you buy or cut anything.
Call 811 before you dig
Free, and required in most areas. Wait for the utility locates before any post hole, footing, or excavation.
Confirm permits and codes locally
Spans, footing depth, setbacks, and heights are set by your local building department — their answer overrides this guide.
Safety gear on, every step
Eye and ear protection, gloves, dust mask when cutting, and a helper for anything you can't lift alone.
Estimates only — verify measurements, prices, and codes locally. This guide is not a substitute for an engineer or your building official.
How the pros build this fence
String-line layout, post holes dug below frost, posts set in concrete and braced plumb, rails and pickets hung to a chalk line.
2 people, 2–3 days for ~100 ft (one day to set posts, one to cure and hang)
Tools a pro shows up with
- Safety glasses
- Work gloves
- Hearing protection
- 100 ft tape
- Mason's line + stakes
- Post-hole digger or auger
- 4 ft level
- Circular saw
- Impact driver
- Wheelbarrow / mixing tub
- Chalk line
The numbers pros work to
- Post embedment1/3 of above-grade height, 24 in absolute minimum, 36 in typical
Standard fence practice; must also reach below your local frost depth so heaving can't lift the post.
- Post spacing6 ft to 8 ft on center, equal bays
Rail spans beyond 8 ft sag; equal bays let you cut all rails to one length.
- Footing diameter3× the post width (10–12 in for a 4×4)
Gives the concrete collar enough bearing area against the soil.
- Gate postsUpsize to 6×6 and deepen 6 in
A swinging gate applies constant leverage the line posts never see.
General guidance based on common residential practice. Your local building department has the final say — estimates only, never a quote or an engineered design.
Step 1: Locate the line and call 811
Fences are the #1 cause of neighbor disputes and cut utility lines.
1.1 Call 811 (or your local one-call service) and wait the required marking period.
Pro standard
Free locate is legally required in most states before any digging.
In plain English
Call, wait a few days, and someone paints where the buried gas, power and cable lines run. Digging into one is dangerous and expensive.
1.2 Confirm the property line from your plat or survey pins, then set the fence inside it.
Pro standard
Many jurisdictions require a setback from the boundary; recorded survey beats memory.
In plain English
Don't guess where your land ends. Build a few inches inside the line so nobody can make you move it.
1.3 Run a mason's line between end stakes and mark post centers with marking paint.
Pro standard
Layout to the string, not to the ground; string is the reference for the whole run.
In plain English
A tight string is your straight edge. Every post gets marked off the string so the finished fence is dead straight.
Before you move on: Utilities marked, string line tight and level-ish, every post center painted at equal spacing.
Step 2: Dig and set posts
Everything above ground is only as straight and as permanent as the posts.
2.1 Dig each hole to the specified depth with 4–6 in of compacted gravel in the bottom.
Pro standard
Gravel base drains the end grain and stops standing water at the post bottom.
In plain English
A little gravel under the post lets water drain away so the wood doesn't rot from the bottom up.
2.2 Set the post, brace it plumb in two directions, then pour concrete and crown it above grade.
Pro standard
Check plumb on two adjacent faces; slope the concrete cap away from the post.
In plain English
Hold the post straight up and down with two temporary braces, fill with concrete, and shape the top so rain runs off instead of pooling.
2.3 Let the concrete cure before hanging anything on the posts.
Pro standard
Typically 24–48 hours before load; full strength takes longer.
In plain English
Walk away for a day. Hanging rails on green concrete pulls posts out of plumb.
Before you move on: Every post plumb on two faces, tops within layout tolerance of the string, concrete crowned and cured.
Step 3: Rails and pickets
This is the part everyone sees, so consistency beats speed.
3.1 Mark rail heights off a level line, not off the ground.
Pro standard
Transfer heights with a level or laser; ground grade lies.
In plain English
Yards are never flat. Measure from a level line so the fence top doesn't wander up and down.
3.2 Fasten rails with exterior-rated screws or brackets sized to the framing.
Pro standard
Hot-dip galvanized or stainless in contact with treated lumber — plain steel corrodes.
In plain English
Use screws made for outdoor/treated wood. Cheap indoor screws rust away and the fence falls apart.
3.3 Hang pickets to a chalk line using a spacer block, checking plumb every 6–8 pickets.
Pro standard
A consistent spacer maintains gap; periodic plumb checks stop cumulative drift.
In plain English
Use one scrap block as your spacer so every gap matches, and check with a level now and then so the boards don't slowly lean.
Before you move on: Top line straight when sighted down the run, gaps consistent, no picket out of plumb by more than a blade's width.
Step 4: Gates and finish
Gates fail first; finish decides how many years you get.
4.1 Build the gate 3/4 in narrower than the opening and add an anti-sag brace or cable.
Pro standard
Diagonal brace runs from the bottom hinge corner up to the latch corner in compression.
In plain English
Leave a little gap so it swings free, and run a diagonal from the bottom hinge upward — that's what stops the gate from drooping.
4.2 Seal or stain after the wood dries, coating cut ends first.
Pro standard
Cut ends wick water fastest; treat them before assembly where possible.
In plain English
The freshly cut ends soak up water like a straw. Paint those first.
Before you move on: Gate swings full travel without dragging, latch engages one-handed, all cut ends sealed.
What goes wrong most often
- Setting posts shallower than frost depth — they heave and lean the first winter.
- Measuring post spacing along the ground on a slope instead of level — bays come out uneven.
- Using interior screws or mismatched metal against treated lumber — corrosion within a season.
Permit checkpoints
- Set your state for localized rules
Permit thresholds, frost-line depth, and fence-height caps vary a lot by state. Pick your state above to tailor this checklist.
- Call 811 before you dig
Free U.S. utility locate service. Required by law in most states — schedule at least 3 business days before you start digging post holes.
- Confirm your property lines
Pull your survey or use recorded plat. Building even 6 inches over the line is the #1 reason fences get torn down.
- Check municipal setback rules
Most cities require fences to sit 6"–12" inside the property line, with additional setback at corners for visibility triangles.
- Verify allowed height
Most residential zones cap fences at 6 ft in back/side yards and 3–4 ft in front yards. Check your local code.
- Check HOA / neighborhood covenants
HOAs often restrict materials, colors, and the 'good side out' rule. Get written approval before ordering material.
Rules vary by city and county — always confirm with your local building department. Estimates only, not a permit determination.
Plan it. Price it. Build it.
Enter your own dimensions and get this same plan for your yard — plus the build guide, permit packet and printable PDFs.
Start my fence