
Example deck plan, start to finish
Wood or composite deck with railings and stairs. This is a real output from the deck calculator — nothing blurred, nothing withheld. Change any dimension and yours regenerates instantly. Estimates only, never a quote.
- Length
- 16 ft
- Width
- 12 ft
- Area
- 192 sqft
- Material
- pressure-treated
- Style
- attached
- Steps
- 4
Scaled diagram
How to read this: the drawing is to scale but not to the inch. Always measure your real site before cutting — these are estimates only, not a construction document.
Full shopping list
Decking boards (pressure-treated 5/4×6, 12') 58 ea × $18 | $1,044 |
Joists (PT 2×8, 12') 13 ea × $22 | $286 |
Beam boards (PT 2×10, 12') 8 ea × $32 | $256 |
Posts (6×6 × 8') 6 ea × $45 | $270 |
Concrete mix (50lb bags) 30 bag × $7 | $195 |
Structural fasteners & hangers 19 lb × $10 | $190 |
Ledger board (PT 2×10, 12') 2 ea × $32 | $64 |
Railing system (posts, rails, balusters) 37 lf × $22 | $814 |
Stair stringers (PT 2×12) 3 ea × $24 | $72 |
Stair tread boards (2 per tread) 6 ea × $12 | $72 |
| Incl. 10% waste ($108) | $3,263 |
Cut list
- Ledger board ×12×10 × 16'
- Posts ×66×6 × 6'
- Beam plies ×82×10 × 12' (cut to 16')
- Joists ×132×8 × 12'
- Decking ×265/4×6 rows, 16' each
- Stair stringers ×32×12 cut for 4 × 7" riser / 11" tread
- Railing ×137 linear ft
Before you start — do these four things
Measure twice, on site
Re-measure every dimension at the actual location and compare it to the numbers in this guide before you buy or cut anything.
Call 811 before you dig
Free, and required in most areas. Wait for the utility locates before any post hole, footing, or excavation.
Confirm permits and codes locally
Spans, footing depth, setbacks, and heights are set by your local building department — their answer overrides this guide.
Safety gear on, every step
Eye and ear protection, gloves, dust mask when cutting, and a helper for anything you can't lift alone.
Estimates only — verify measurements, prices, and codes locally. This guide is not a substitute for an engineer or your building official.
How the pros build this deck
Footings below frost, ledger flashed and lagged to the rim, joists hung square, decking gapped for drainage, guard and stairs to code.
2 people, 3–5 days for a typical 16×12 attached deck
Tools a pro shows up with
- Safety glasses
- Work gloves
- Hearing protection
- Laser or water level
- Post-hole digger
- Circular saw
- Impact driver
- Framing square
- String line
- Socket set for structural screws/bolts
- Chalk line
The numbers pros work to
- Footing depthBelow local frost line, bearing on undisturbed soil
IRC-style footing requirement; frozen soil lifts shallow footings.
- Joist spacing16 in on center typical, 12 in for diagonal decking or composite
Span tables assume a spacing; composite decking usually requires tighter spacing.
- Ledger attachmentThrough-bolts or approved structural screws in a staggered pattern, with flashing above
Ledger failure is the leading cause of deck collapse; nails alone are not acceptable.
- Guard height / infill36 in min residential; no 4 in sphere may pass
Standard residential guard rule; keeps small children from slipping through.
- StairsConsistent rise and run, max 3/8 in variation between steps
Uneven risers are the classic trip hazard inspectors flag.
General guidance based on common residential practice. Your local building department has the final say — estimates only, never a quote or an engineered design.
Step 1: Layout and footings
A deck that is out of square never recovers — every later cut fights you.
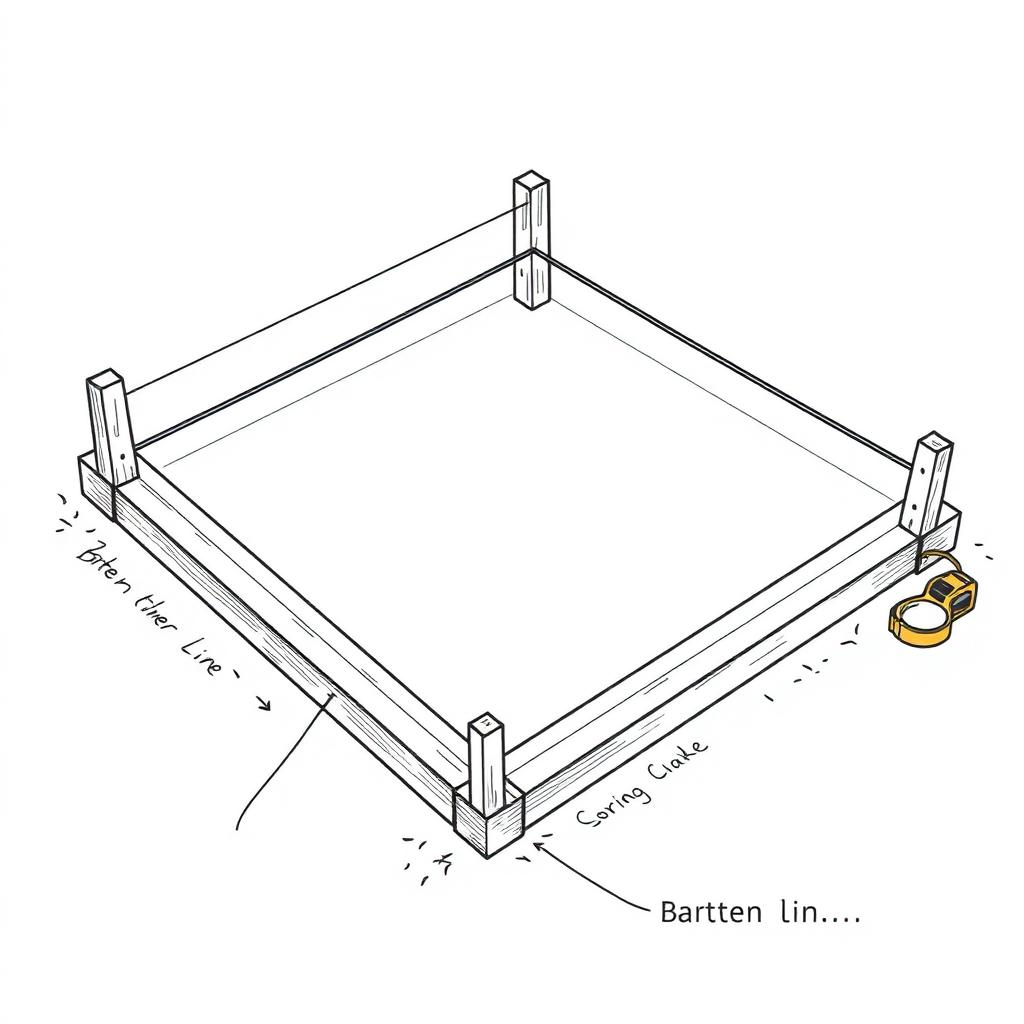
1.1 Batter boards and string lines, squared with the 3-4-5 method and equal diagonals.
Pro standard
Diagonals equal within 1/4 in over the footprint before digging.
In plain English
Measure corner to corner both ways. When both measurements match, the rectangle is square.
1.2 Dig footings below frost onto undisturbed soil and set post bases above grade.
Pro standard
Post base standoff keeps end grain off concrete.
In plain English
Deep holes so frost can't lift them, and a metal bracket so the wood post never sits in water.
Before you move on: Diagonals equal, footing depth verified in every hole, post bases level with each other.
Step 2: Ledger and beam
This is the structural heart — the part that hurts people if it's wrong.
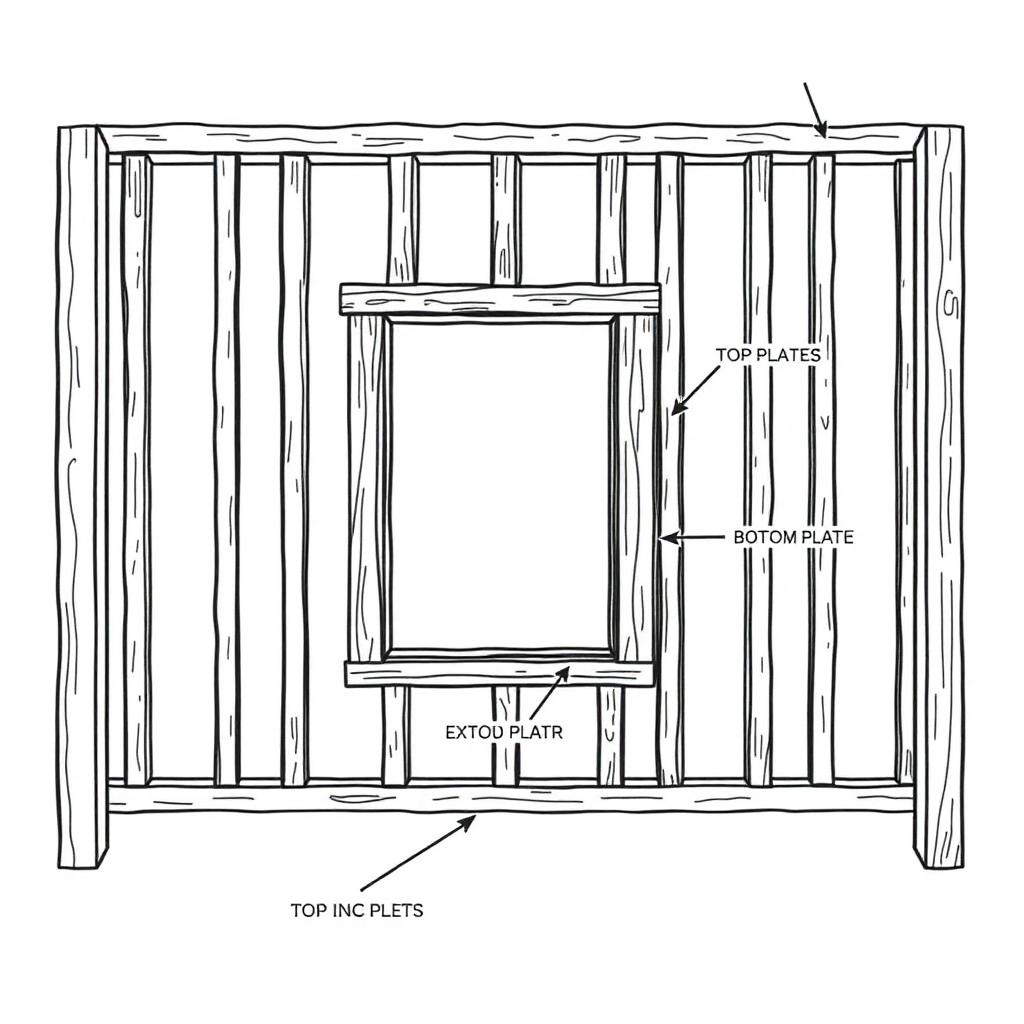
2.1 Remove siding, install flashing, and fasten the ledger with the specified bolt/screw pattern.
Pro standard
Flashing over and behind the ledger; staggered fastener rows top and bottom, held back from edges.
In plain English
Water must run over the ledger, not behind it. And bolt it — never just nail it — to the house framing.
2.2 Set the beam on posts with approved post-to-beam connectors.
Pro standard
Notched posts or rated caps; toenails are not a connection.
In plain English
Use the metal brackets made for it. Screwing at an angle is not strong enough.
Before you move on: Ledger flashed and fully fastened, beam level end to end, connectors fully nailed off with the right nails.
Step 3: Joists and blocking
Bounce and squeak both come from here.
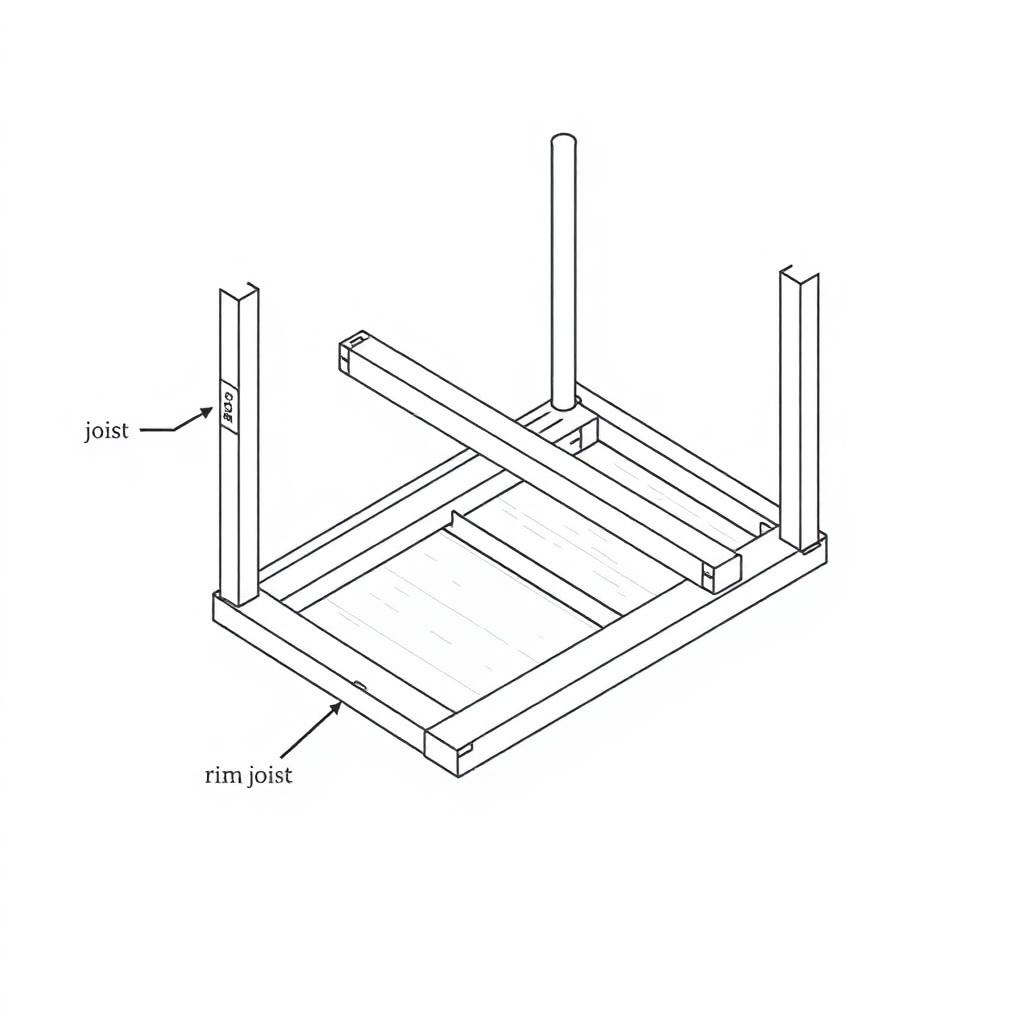
3.1 Hang joists at the design spacing with full hanger nailing.
Pro standard
Every hanger hole filled with the specified connector nail — not deck screws.
In plain English
Hangers only work when every hole has the right nail in it.
3.2 Add mid-span blocking or bridging and crown joists the same direction.
Pro standard
Crown up so deflection settles flat.
In plain English
Sight each board; the slight bow goes up. Blocking between joists kills the springy feel.
Before you move on: Joists square to the ledger, tops in plane (straightedge across shows no high joists), all hangers fully nailed.
Step 4: Decking, guard and stairs
Drainage and guard geometry are what inspectors check first.
4.1 Lay decking with the manufacturer's gap and fasten per their pattern.
Pro standard
Follow the decking maker's gap and fastener spec — it governs the warranty.
In plain English
Leave the small gap they specify so water drains and boards can move without buckling.
4.2 Set guard posts with rated hardware, then infill so a 4 in sphere can't pass.
Pro standard
Guard posts take a concentrated load; blocking and bolts, not lags into end grain.
In plain English
Rail posts must survive someone falling against them. Bolt them through solid framing.
4.3 Cut stringers so every rise matches within tolerance.
Pro standard
Deduct the tread thickness on the bottom riser so all risers finish equal.
In plain English
Remember the last step's thickness when you cut, or the first step ends up taller than the rest.
Before you move on: No 4 in gap anywhere in the guard, boards gapped evenly, stair risers equal, nothing rocks underfoot.
What goes wrong most often
- Lagging the ledger into siding or a rim that isn't fastened to the floor system.
- Skipping flashing — the wall rots invisibly for years.
- Using deck screws in joist hangers instead of rated connector nails.
Permit checkpoints
- Set your state for localized rules
Permit thresholds, frost-line depth, and fence-height caps vary a lot by state. Pick your state above to tailor this checklist.
- Building permit almost certainly required
Nearly every U.S. jurisdiction requires a permit for any deck over 30" tall or over 200 sq ft. Plans, footing depth, and joist span tables will need to be submitted. Do this BEFORE ordering material.
- Call 811 before you dig
Free U.S. utility locate service. Required by law before digging footings. Schedule at least 3 business days out.
- Dig footings below the frost line
Footings must extend below your local frost line — typically 24" in the South, 42–48" in the Northeast/Midwest. If they don't, the deck will heave every winter.
- Confirm your property lines and setbacks
Most codes require decks to sit 5–10 ft inside side/rear property lines. Pull your plat before you dig.
- Railings are code-required
Your deck is 3 ft above grade. Anything ≥ 30" (2.5 ft) needs a guardrail at least 36" tall (42" in some jurisdictions) with balusters spaced ≤ 4" apart.
Rules vary by city and county — always confirm with your local building department. Estimates only, not a permit determination.
Plan it. Price it. Build it.
Enter your own dimensions and get this same plan for your yard — plus the build guide, permit packet and printable PDFs.
Start my deck